Showing posts with label vinegar. Show all posts

Tuesday, 17 December 2013

Bread and butter cucumbers.

We tend to celebrate happy hour a lot(maybe too much) when we are up at the farm, not so much here on the coast.
People tend to pop over up there for a cuppa  or  a drink, and I just can't resist putting out a plate of nibbles. I  tend to  sway more to the cheeses and pickles,olives ect and most of our friends and neighbours  seem to enjoy those type of snacks too.
One of the most popular ones is bread and butter cucumbers. I got the recipe from my next door neighbour Stasia, who is  Polish, she  and her husband Rolf who is German  have shared some wonderful recipes  and food with us over the last 15 years or so that we have been neighbours.
We planted a small raised bed of bush type cucumbers this year and they have produced very well, this is the third batch of bread and butter cucumbers that I have preserved from them.


For this recipe, I slice up 4 kilos of cucumbers on the mandolin and also slice up 2 kilos of onions and add to the cucumbers in a plastic or stainless steel container, I then add  1 cup of salt in total(I divided my cucumbers and onions into two containers, so adjust to what ever you decide to do)
I set the containers aside and leave to soak overnight.
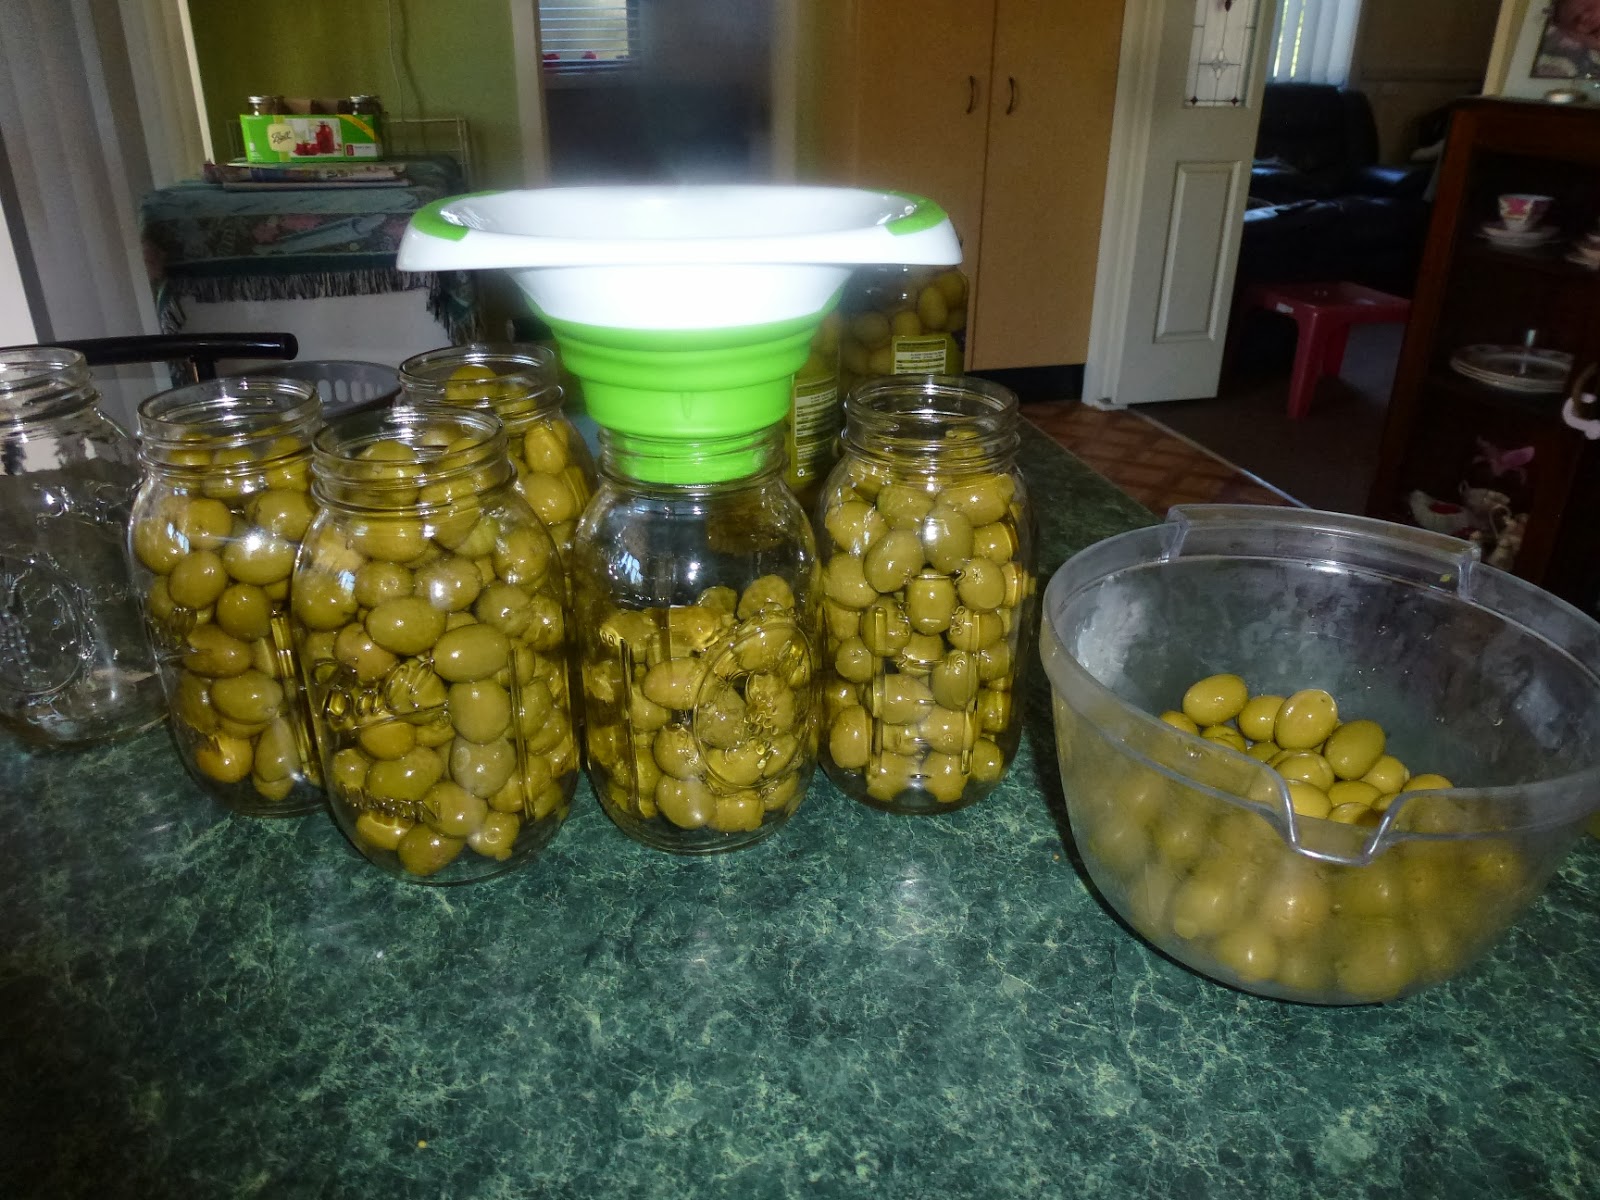
Next morning I drain the cucumbers and onions and rinse them under cold running water to  reduce the saltiness, and pack them into my freshly washed mason jars.


In a large stainless pot I then  make the sweet brine solution, this consists of:
10 cups of white vinegar,6 cups of white sugar,3 teaspoons of celery seed,3 teaspoons of yellow or brown mustard seed, and 3 teaspoons of turmeric.  This is brought to the boil, cooled a little and poured over the cucumbers.


Once  the jars are full, I then de-bubble and adjust the liquid height leaving a final head space of about 1/2 inch. I wipe all the rims with a paper towel soaked in white vinegar, place lids, that have been simmered onto the jars, and cap with  the bands to finger tight.


Once this is done, I then place all the jars into my trusty electric water bath and  adjust water level so that the jars are covered by a couple of inches of water, place the lid on and set to hold boil. When it reaches  boiling point, I hold it at that level for 10 minutes.
After the 10 minutes has elapsed, I then turn off the  water bath preserver, remove the lid and let the jars sit for a further 5 minutes. Next I remove all the jars out onto a towel covered bench to protect it and the jars from heat shock.

 When the jars have all made that lovely popping noise, you know that they are all sealed, but you must wait  24 hours and then remove the bands.

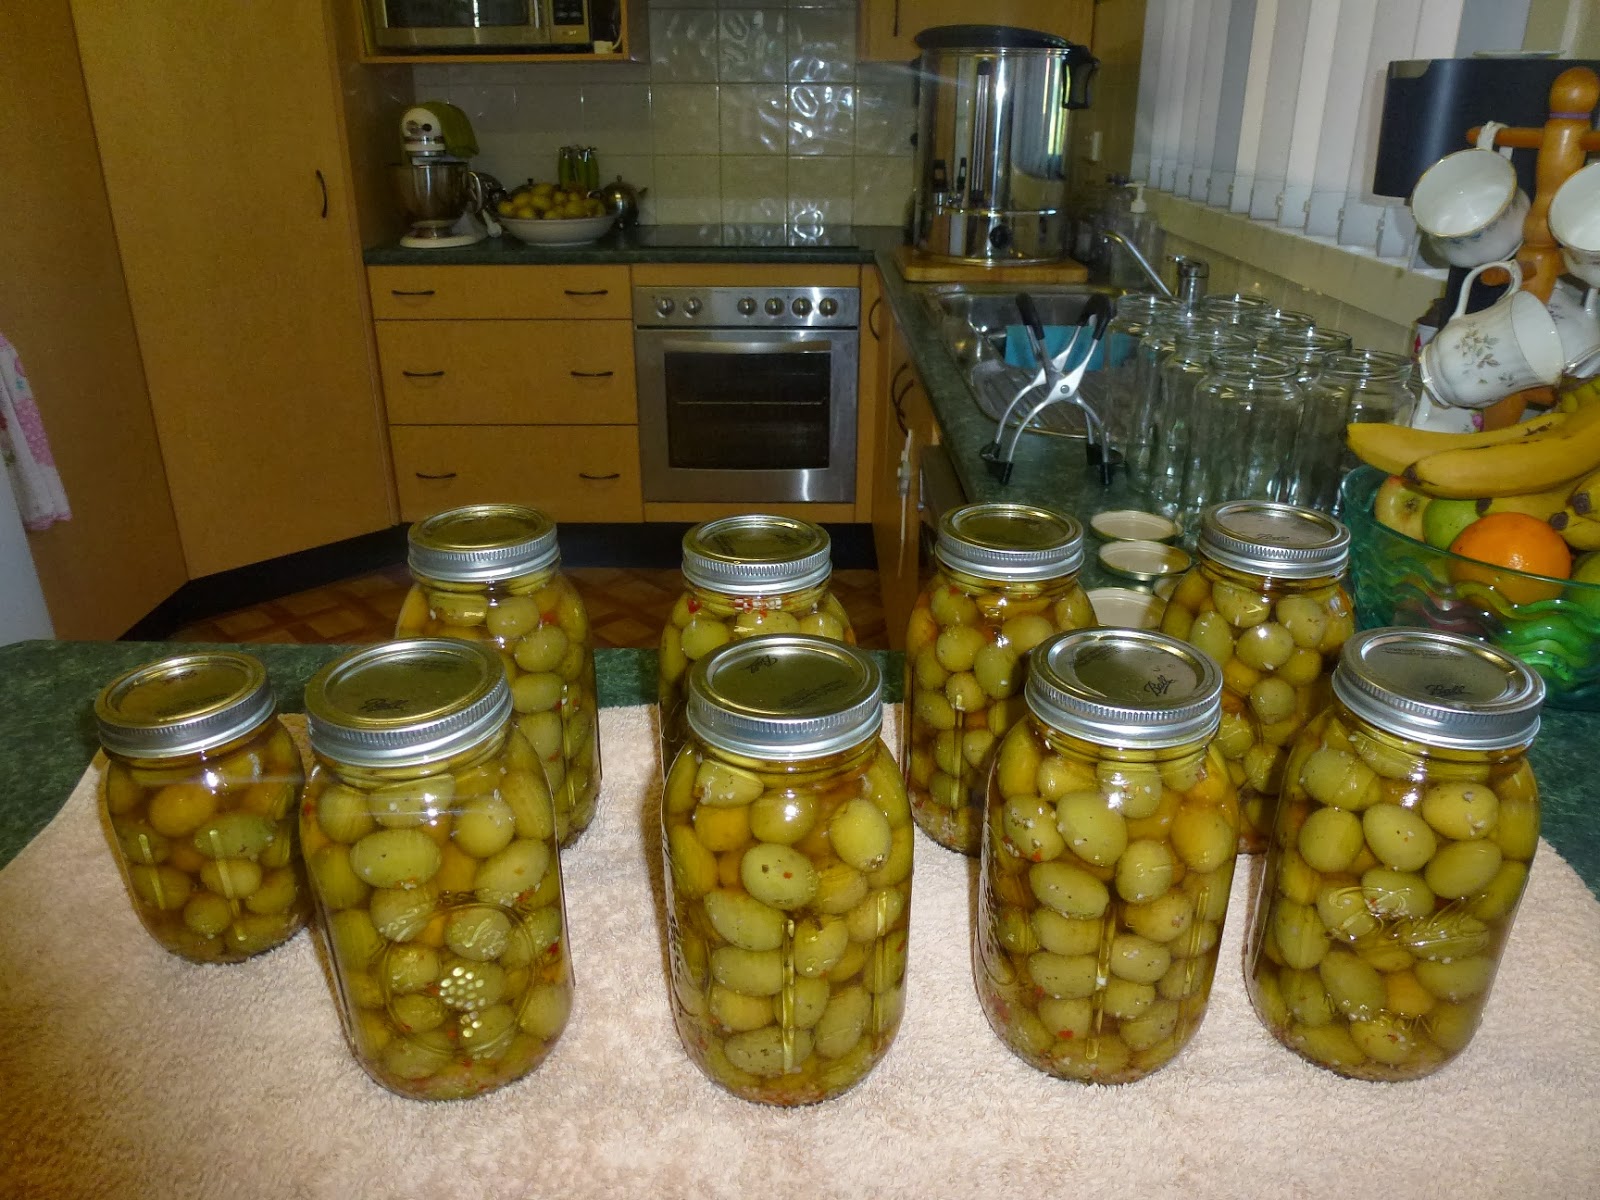
After removing the bands, washing them and storing away until the next preserving job, I then washed the jars, and will  soon label and date them and store them away with my other delicious preserves in the pantry.
This makes over 40 pint  jars of these that I have preserved this year, I am fairly sure it will be the last as our cucumber garden is on it's last legs, and we will probably now only pick fresh eating cucumbers until the end of the season.
We have had a really productive  year here on the coast, and hopefully next year we will have a more established garden up and running at the farm as we  spend more  time up there and less down here.
These  pickles will be popular fare over the Christmas  holidays and my supply will quickly be eaten into.

So until we meet up again,
Best wishes to you and yours,
Stay safe over the holiday period,
Cheers,
Jane.

Thursday, 21 November 2013

Green Beans and carrots.


I have preserved food in one form or another for about 30 years now. When my Mum first passed me on her Fowlers vacola preserver and her bottles(jars) I mainly did peaches, plums and apricots along with tomatoes. One year we grew a bumper crop of green beans and I preserved those too, the only problem was that to do green beans in the Fowlers vacola System you had to Water Bath them in a brine solution for about an hour and  then 48 hours later re-water bath them again for 45 minutes. The outcome was a very soft, very salty jar of beans.
We haven't grown a lot of beans over the last 20 years, just enough to eat fresh or freeze a few, but this year Brian has grown another lovely patch or three of green beans.
We picked three buckets full about two weeks ago and  took them up to the farm and pressure canned  them, great result.
We brought the canner home the other day as we knew we would have a lot of canning to do over the next couple of weeks before we get a chance to return to the farm.
Early  this morning he picked me another bucket of beans , and I prepared them  ready to can.
I also had  a heap of carrots left over from some soup I had been making(I had got the carrots on sale at Harris farm) I chopped them up two and was going to do half the canner  load of each.
Brian then suggested that it may be a good idea to mix the two in each jar. I agreed that this would be very practical, as there is just the two of us, it would be sensible to be just able to open one jar and have both vegetables.So I filled the jars half and half approximately  with the beans and carrots.I did not add any salt to mine but some people do, and I then filled  with water  leaving about 1 inch headspace, I then de-bubbled and adjusted the water levels in the jars.


I then wiped the rims with paper towel and white vinegar,placed on my lids that i had previously simmered in hot water and screwed on the rings finger tight.
After they were all lidded and ringed, I then put them in a double layer seperated by the rack into my pressure canner. Up at the farm I have a gas (propane) stove, but down here on the coast I have a flat glass topped stove  which I am unable to use as I have a  Big 930 AA canner and  it is not recommended  to use it on it.
So we have purchased a gas burner designed for cooking crabs and prawns ect, and decided to use our canner on that outside in a sheltered spot .
We found that this worked brilliantly, although we had to keep a fairly close watch on it to keep to the required 10lbs pressure. We  processed the bean /carrot mix to the carrot  times as they required the longest preserving time.After the  25 minutes had elapsed, we turned the gas off and allowed the canner to cool down, removed the weight, waited a few more minutes and removed the lid.
The result was 19 lovely colourful pints of green beans and carrots.
I have left the jars  on the towel on the bench to cool completely overnight, each one made that sweet ping to tell me that it has sealed and in the morning, I will remove the rings, check seals,wash the jars and rings and store the rings away for future use, label the jars and store them away  in my pantry.
It  always feels good to put a little away, These little jars will be a very handy item to have in my pantry. There is nothing better than  having your own home grown produce  on hand.
I am very tired as I type this, we have had a few very big days of canning, some of which will be included in another entry soon, and I am  nearly ready to call it a night,
So until we meet again,
Cheers,
Jane.

Sunday, 22 September 2013

We love Olives,how can you not !!!

Without the beautiful olive, my entertaining  would be dull.
I can't seem to ever have Happy Hour  without at least a few olives, be they marinated  big green Spanish olives, or Kalamata or lovely green olives stuffed with feta or pimentos or the beautiful smaller black Spanish olives, whatever the olive of choice  the nibbles platter just wouldn't be the same  in their absence.
Recently Aldi had  the bargain of the century(or at least I thought it was), they had large jars(907grms) of big fat Spanish olives for $ 1.99.I forced myself to buy 20 jars.
As lovely as these are by themselves(they are a large very meaty good tasting olive) I prefer them to taste of other flavours rather than just of the brine solution that they are in.
So, what I decided to do was  to drain the brine off them, marinate in other flavours  and repack,reseal with water bath and enjoy them later.
So I gathered all my ingredients and equipment together and got started.
I drained all the brine off  and repacked the olives into mason quart jars, I had a little over 8 jars so was able to fill 1 pint as well.

I then made up a solution in a jug of white vinegar,red wine vinegar,white wine vinegar and water and set this aside.
To each quart jar I then added  about half a teaspoon of minced garlic,quarter teaspoon minced chilli,1 teaspoon of Italian herbs,half teaspoon salt, a squirt of lemon juice and a drizzle of olive oil.
I then filled the jars with the vinegar solution.


I over filled the jars a little and will note next time to allow more head space.
I then de-bubbled the jars,simmered the lids, and wiped the jar  rims with paper towel dipped in white vinegar.


Next I placed the hot lids (at great personal pain to me,as I had left my magnetic wand up at the farm) onto the jars and screwed on the bands until they were finger tight.

After all were capped I then placed them into the big electric Water Bath preserver, covered them with tepid water,covered and waited for them to come to the boil.
On reaching boiling point I then started timing for 15 minutes. When the time was up, I turned off the preserver, removed the lid and allowed the jars to sit in the water for several minutes.
I then grabbed my trusty jar lifters and removed all the jars out onto a folded bath towel on my kitchen bench to cool.Shortly after removing the jars they all made that lovely "Ping" that we all wait with bated breath to hear.

So on the bench they will sit, for another 24 hours, after which I will remove the bands,check the seals are intact, wash  and label the jars and store  away in my pantry for future use down the track.
This is less than half of my bounty from Aldi, so I will probably repeat this activity tomorrow with the rest.
So ,until we meet again,
Cheers to all,
Jane from Aus.

Wednesday, 31 July 2013

Speckles of gold.

I have always looked through my canning books and every time I see "Habanero Gold" I have always wanted to make it,but something always stops me.
.I am trapped on the coast at the moment as my man is away at work, I  try to keep busy to make the time go faster.
So the other day I thought, today is the day I will make that beautiful pepper jelly.
I gathered all my ingredients, but was unable to get any habaneros, so made do with a slightly milder green chilli as a substitute.So I thought I would document this journey as I went along.
I decided to make two batches as i have read that you have to be a little careful multiplying batches when doing jelly as  they sometimes don't gel as well as single batches, so I heeded that warning.
Firstly I finely chopped 1/4 cup of dried apricots and put them in in a plastic bowl over which i poured 3/4 cup of white vinegar, I then covered this with cling film and left about 4 hours9But it can be left overnight if needed)


I placed the apricots into two stainless pots, and then chopped 1/4 cup red onions into small dice and added to the pots.


I then chopped 1/4 cup of a sweet red pepper into small dice and added it also to the pots.

I then I put on protective rubber gloves(which I have learnt the hard way,that one should always do) split my green chillies down the centre and removed the seeds,and chopped them also into a fine dice to measue 1/4 cup and added these also to the pots.

To this I now added 3 cups of sugar to each of the pots and mixed together with a  whisk until combined.

I then put this on high heat and brought this to the boil,stirring constantly and boiled hard to a rolling boil, I then stirred in 1 pouch of liquid pectin and returned the mix to a hard boil again and continued to boil for 1 minute.I then turn off the heat, allow to settle and skim off any scum or film that forms( this makes a clearer jelly,with no "froth" on top.
Meanwhile prepare your lids in a pot of just simmering water,don't boil them, and fill your clean,hot jelly jars, de-bubble if necessary and leave  the required 1/4 inch headspace. Place lids on and screw on bands to finger tight.


Then out comes my trusty  big electric water bath,and I place all my jars into it, cover  them with a couple of inches of warm/hot water, place the lid on and turn the dial to boil. When it reaches that magic number I then time it for 10 minutes, turn off, and remove lid and let the jars sit for  about 5 minutes. I then lift all the jars out onto a towel which I have placed on my bench and leave to cool. I check they all have "pinged" and leave them for 24 hours before removing the rings.


The next day after removing all the rings, I wash the jars to remove any sticky residue, and label them, and then I show off a little by arranging them and taking a pretty photo( I was very proud of my first attempt, I thought they looked gorgeous) and then the final test

.
When my man returned  home from work after being away we broke open a nice bottle of Sauvigon Blanc(for me) and a beer for him and gave  the Habanero Gold a try.....all I can say is YUM  !!!!
So I must go,
So until we meet again,
Cheers,
Jane